
Today, I’m excited to introduce something new and fascinating, an AI singing avatar using AKOOL. I don’t know if you guys have seen anything like this, but I love it.
This is the first AI singing avatar I’ve come across, and I can’t wait to show you how it works.
Give it a shot, see if it works for you, and it’s super easy to do. I’m going to walk you through it step by step. There are only a couple of steps, so let’s go and give it a crack.
What is AKOOL AI Talking Avatar?
AKOOL AI Talking Avatar is a digital tool that enables users to create realistic animated avatars capable of speaking or singing. Users can customize these avatars by uploading images or videos, and add their own audio or text-to-speech scripts.
This platform is particularly useful for generating engaging content for social media, presentations, and marketing purposes.
How to Get Started with AKOOL for Free?
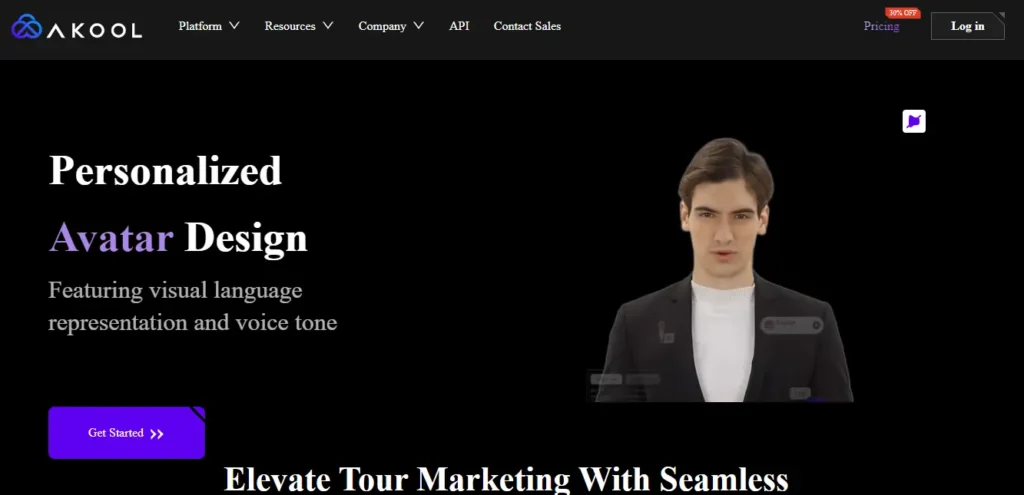
Step 1: Visit Akool.com
The first step is to go to akool.com.
Step 2: Log In or Sign Up
Once you’re there, just click on “Log in,” and you get a couple of options. If you have an account, just click on “Sign in.” You can sign in with Google or use your email.
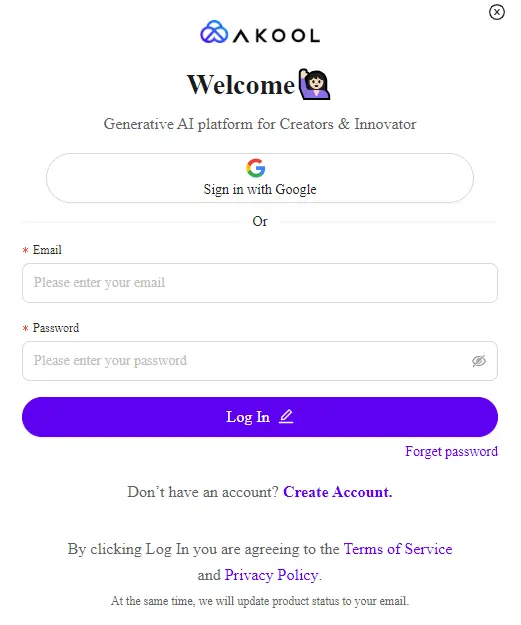
Step 3: Create an Account (If Needed)
Alternatively, if you don’t have an account, just click on “Sign up.” It’s super easy to do.
Step 4: Using the Free Account
I have both a free account and a paid account, but in this one, I’m going to show you how to do it using my free account.
Step 5: Sign In
So let’s go ahead and click on “Sign in.”
Exploring the AKOOL Platform and Available Credits
Step 1: Log In and Check Credits
Once you’re logged in, you’ll notice up at the top right that you have 100 credits. We get those for free, so we have some chips we can play with.
Step 2: Navigate to the Desired Product
Now, up at the top left under “Platform” when I hover over it, you’ll see a whole bunch of different products here. The one we want is “Realistic Avatar” but I want to note that their face swap and translation features are really, really good.
Step 3: Select “Realistic Avatar”
But we’re going to stick to this one here for this video, so I’m going to click on “Realistic Avatar.”
Step 4: Get Started
Once I do that, you’ll see some options, but literally, it’s one click. Just click on “Get started,” and we’re off.
Navigating the AKOOL Timeline and Deleting Pre-built Elements
Once you’re inside the platform, you’ll see a pre-built timeline designed for an eCommerce project.
Since we’re creating a singing avatar, we need to start from scratch.
Delete Pre-Built Elements:
Click on each element in the timeline and hit the trash icon to delete them. This will give you a blank timeline to work with.
Switching to Portrait Mode for TikTok and YouTube Shorts
For creating a TikTok or YouTube Short style video, you might want to switch the aspect ratio to portrait mode.
Change Aspect Ratio: Click on the monitor icon and select “Portrait”. This setup is perfect for social media platforms like TikTok and YouTube Shorts.
Uploading Your Custom Avatar Image
Next, we’ll upload a custom avatar image that will sing your song.
- Go to Avatars: On the left side, click on “Avatar”.
- Upload Your Own Avatar:
- Click on the plus icon next to “My Avatar”.
- Choose to upload an image. For example, I uploaded an image of Marcus Aurelius to make the Roman Emperor sing.
Resizing and Positioning Your Avatar
After uploading your avatar, you might need to resize and position it.
- Resize Avatar: Click and drag the handles on the avatar to resize it.
- Position Avatar: Move the avatar to your desired location on the screen.
Adding Your Custom Song
Now it’s time to add the song that your avatar will sing.
- Select Audio: Click on “Audio” underneath the Avatar tab.
- Upload Your Song:
- Choose “Audio Script”.
- Upload an MP3 or WAV file (up to 100MB). I used a song called “Leap of Grit,” which is copyright-free.
Optional: Adding Emojis, Stickers, and Text
If you want to make your video more engaging, you can add emojis, stickers, or text.
- Add Elements: Click on “Element” on the left side.
- Choose Emojis or Stickers: For example, you can add a heart emoji by clicking on it and resizing or repositioning it as needed.
- Add Text: Similarly, you can add text by clicking on the text style you like and typing your message.
Generating and Previewing Your AI Singing Avatar in HD
Once everything is set, you can generate the final video.
- Generate Video: Click on “Generate Premium Results”.
- Choose Quality: Select either 1080P or 4K. For this tutorial, I chose 1080P.
- Wait for Processing: The platform will process your video, and you’ll receive a notification once it’s done.
Accessing and Sharing Your Final Creation
After your video is generated, you can access and share it.
- Go to My Library: From the homepage, click on “My Library”.
- Find Your Video: Click on “Realistic Avatar” to see your creations.
- Preview and Download: Click “Play” to preview your video. You can download it or share it directly from the platform.
Conclusion
Creating an AI singing avatar with AKOOL is straightforward and fun. You can easily use Akool AI to create content for TikTok, YouTube, or just for fun, AKOOL provides an easy-to-use platform to bring your avatars to life with your own songs. Follow this guide to create your unique singing avatars and explore the various customisation options available.