I am building a YouTube Speech-to-Text Summarization project that goes beyond using YouTube captions. I convert the audio from a YouTube video into text with automatic speech recognition and then summarize that text. I have not seen a tutorial that actually performs speech recognition on the full audio and then summarizes it.
The workflow has three parts. First, download the audio from the YouTube video. Second, run ASR using a Wav2Vec2 model from Hugging Face to get the transcript. Third, summarize the transcript using the transformers pipeline.

YouTube Speech-to-Text Summarization Overview
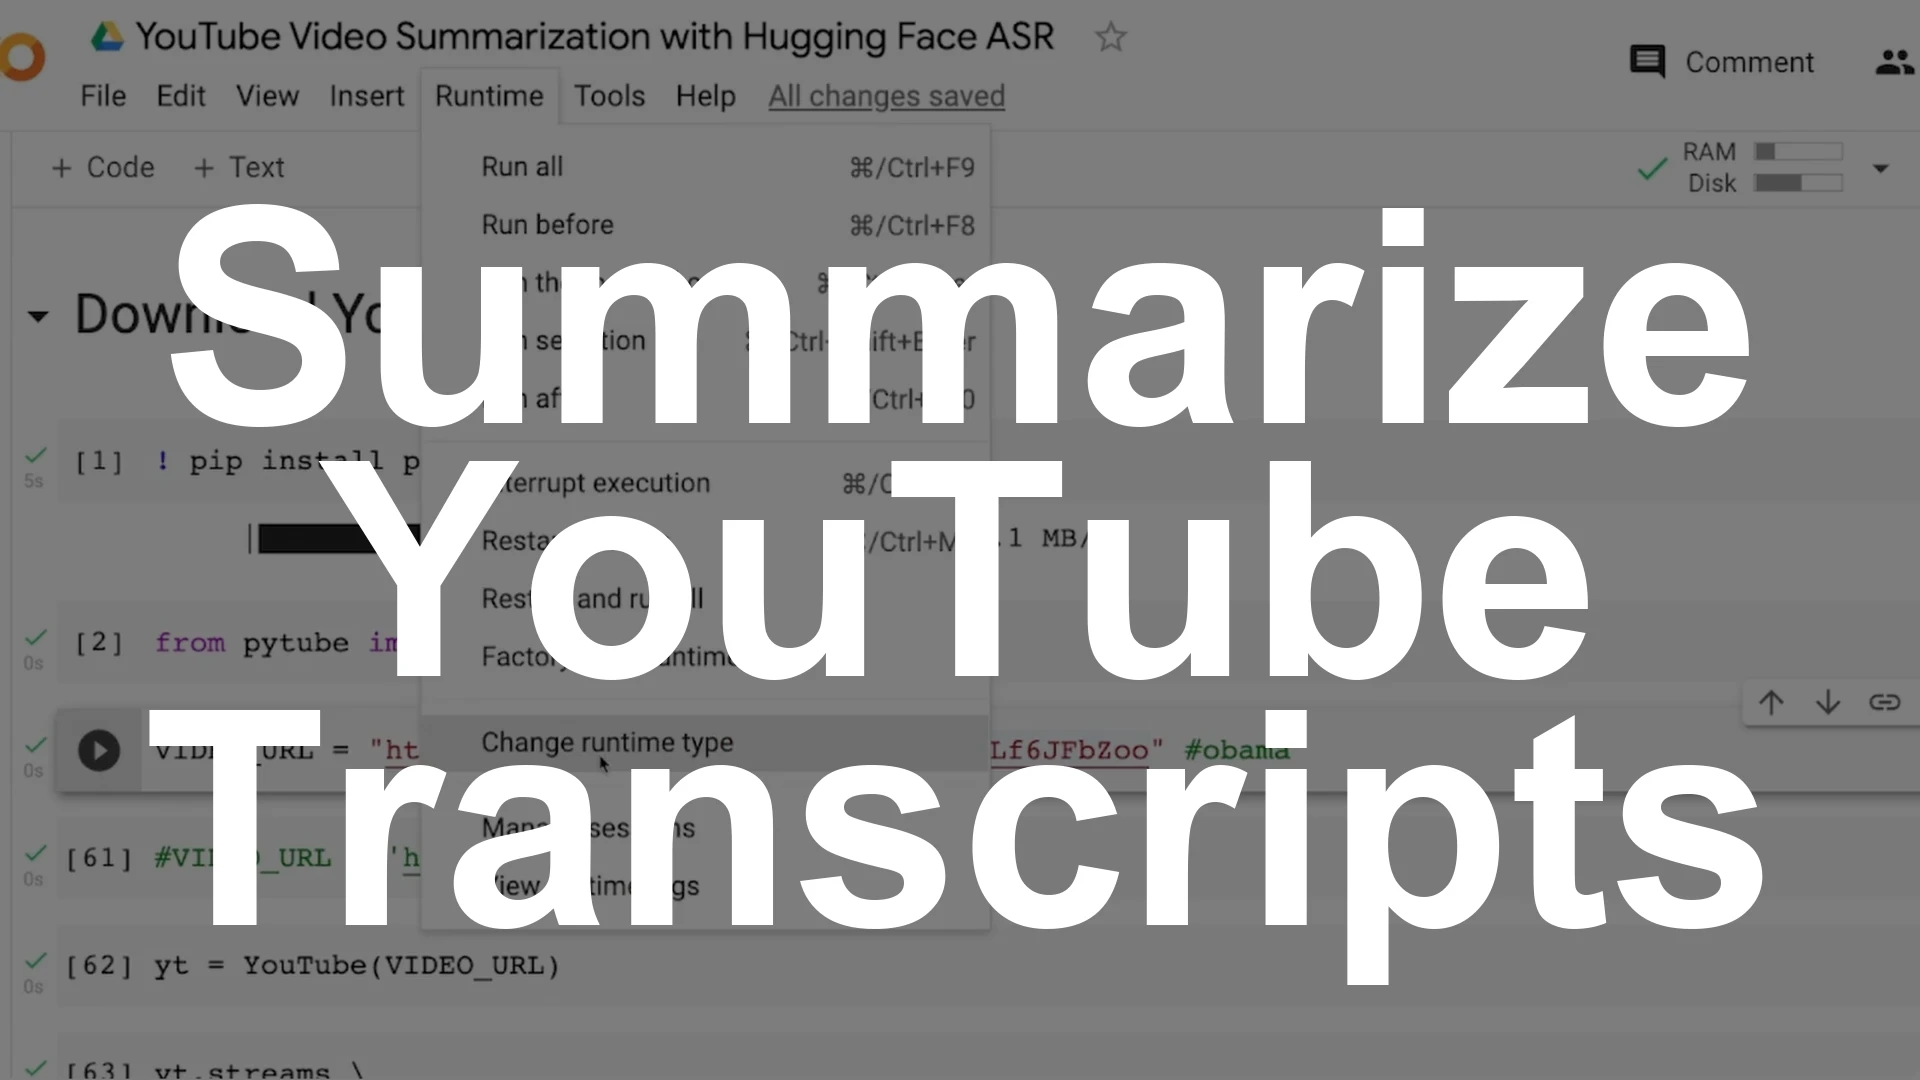
I am doing this end to end in Google Colab. A GPU speeds up transcription and makes the process smoother. Enable GPU in Runtime – Change runtime type – GPU.
Longer videos take more time and more memory. A 1 minute video might finish quickly, but 5 to 10 minutes can cause memory limits and even OOM errors in Colab. I will show a small trick to avoid that and still get results reliably.
Read More: Real Time Speech Text Streaming App Hugging Face
YouTube Speech-to-Text Summarization Setup
Pick your video carefully. The longer your video, the heavier the transcription and summarization workload becomes.
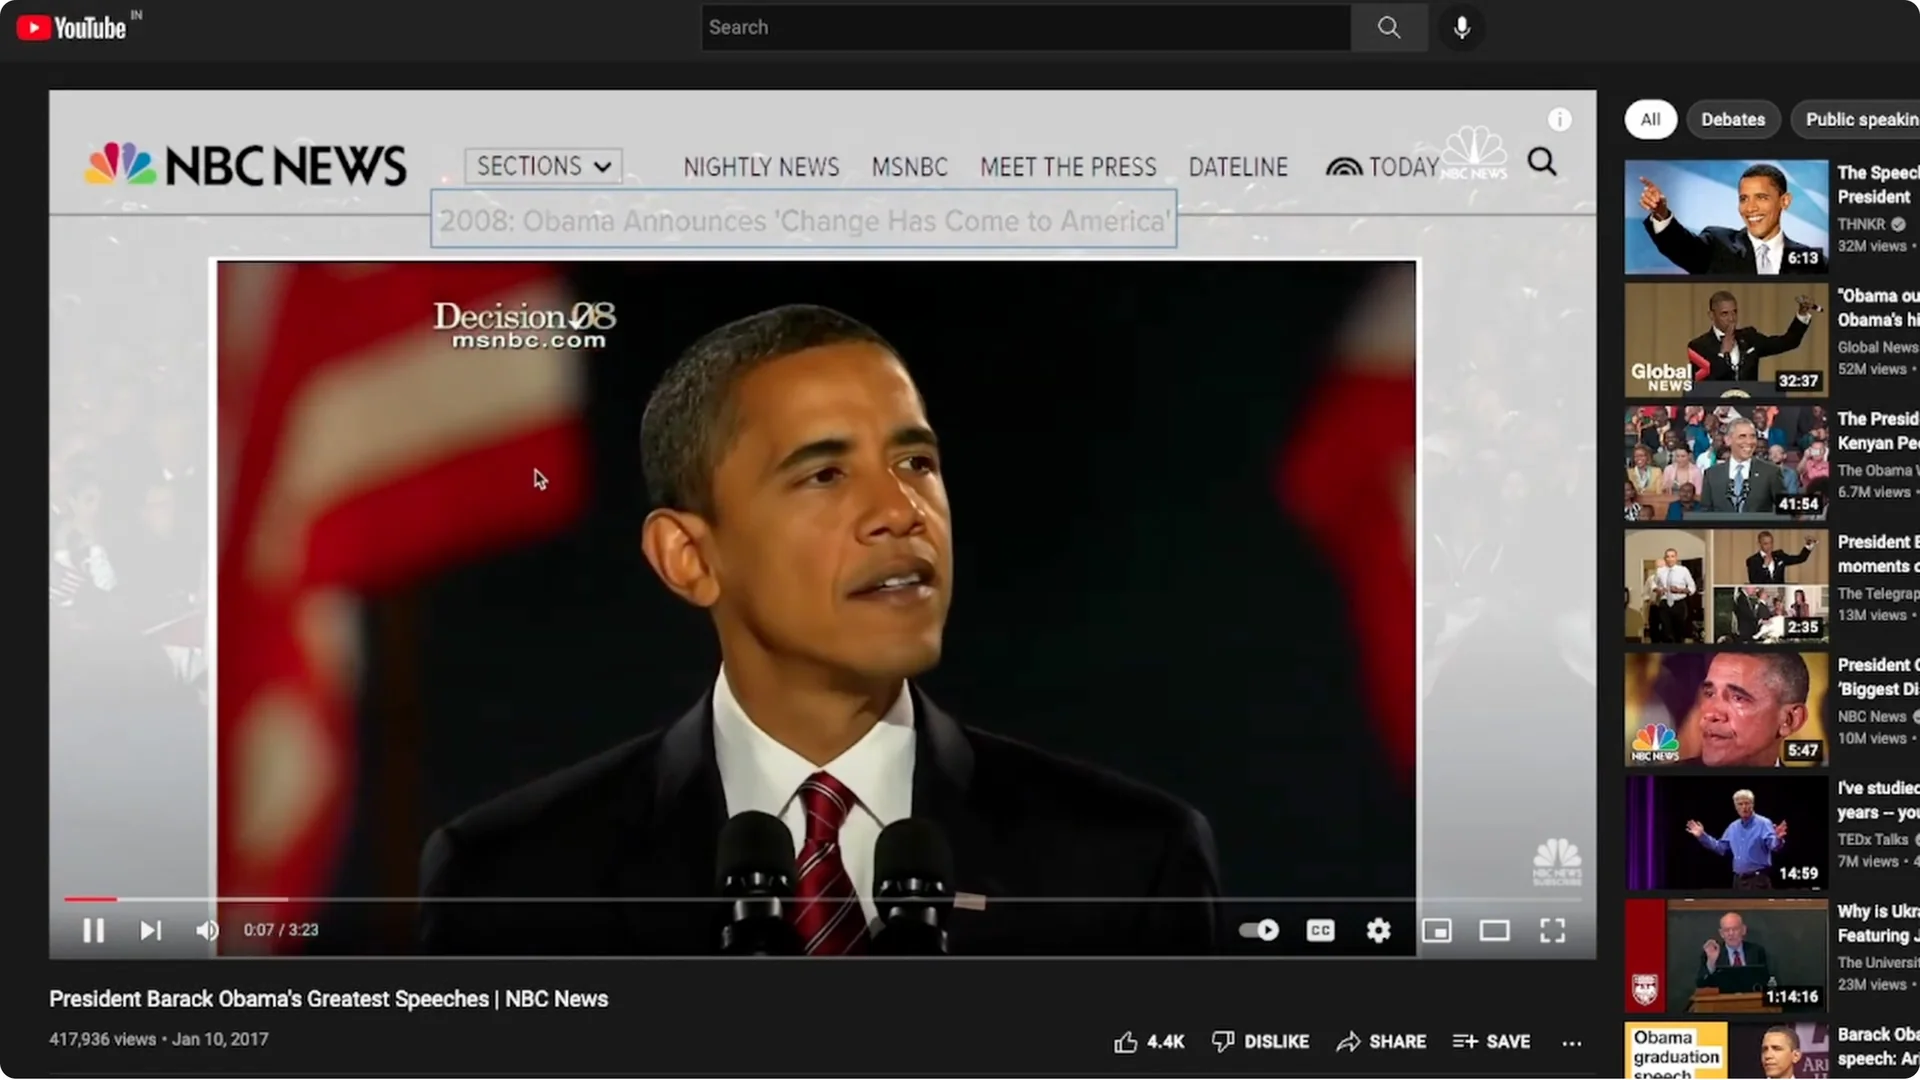
I am using a short speech analysis video that is about three minutes and 23 seconds. Short inputs help you iterate faster for demos, hobby projects, university work, or a portfolio.
Audio download
Install pytube and import YouTube with proper casing for Y and T. Provide the video URL to YouTube and request the stream with only audio.
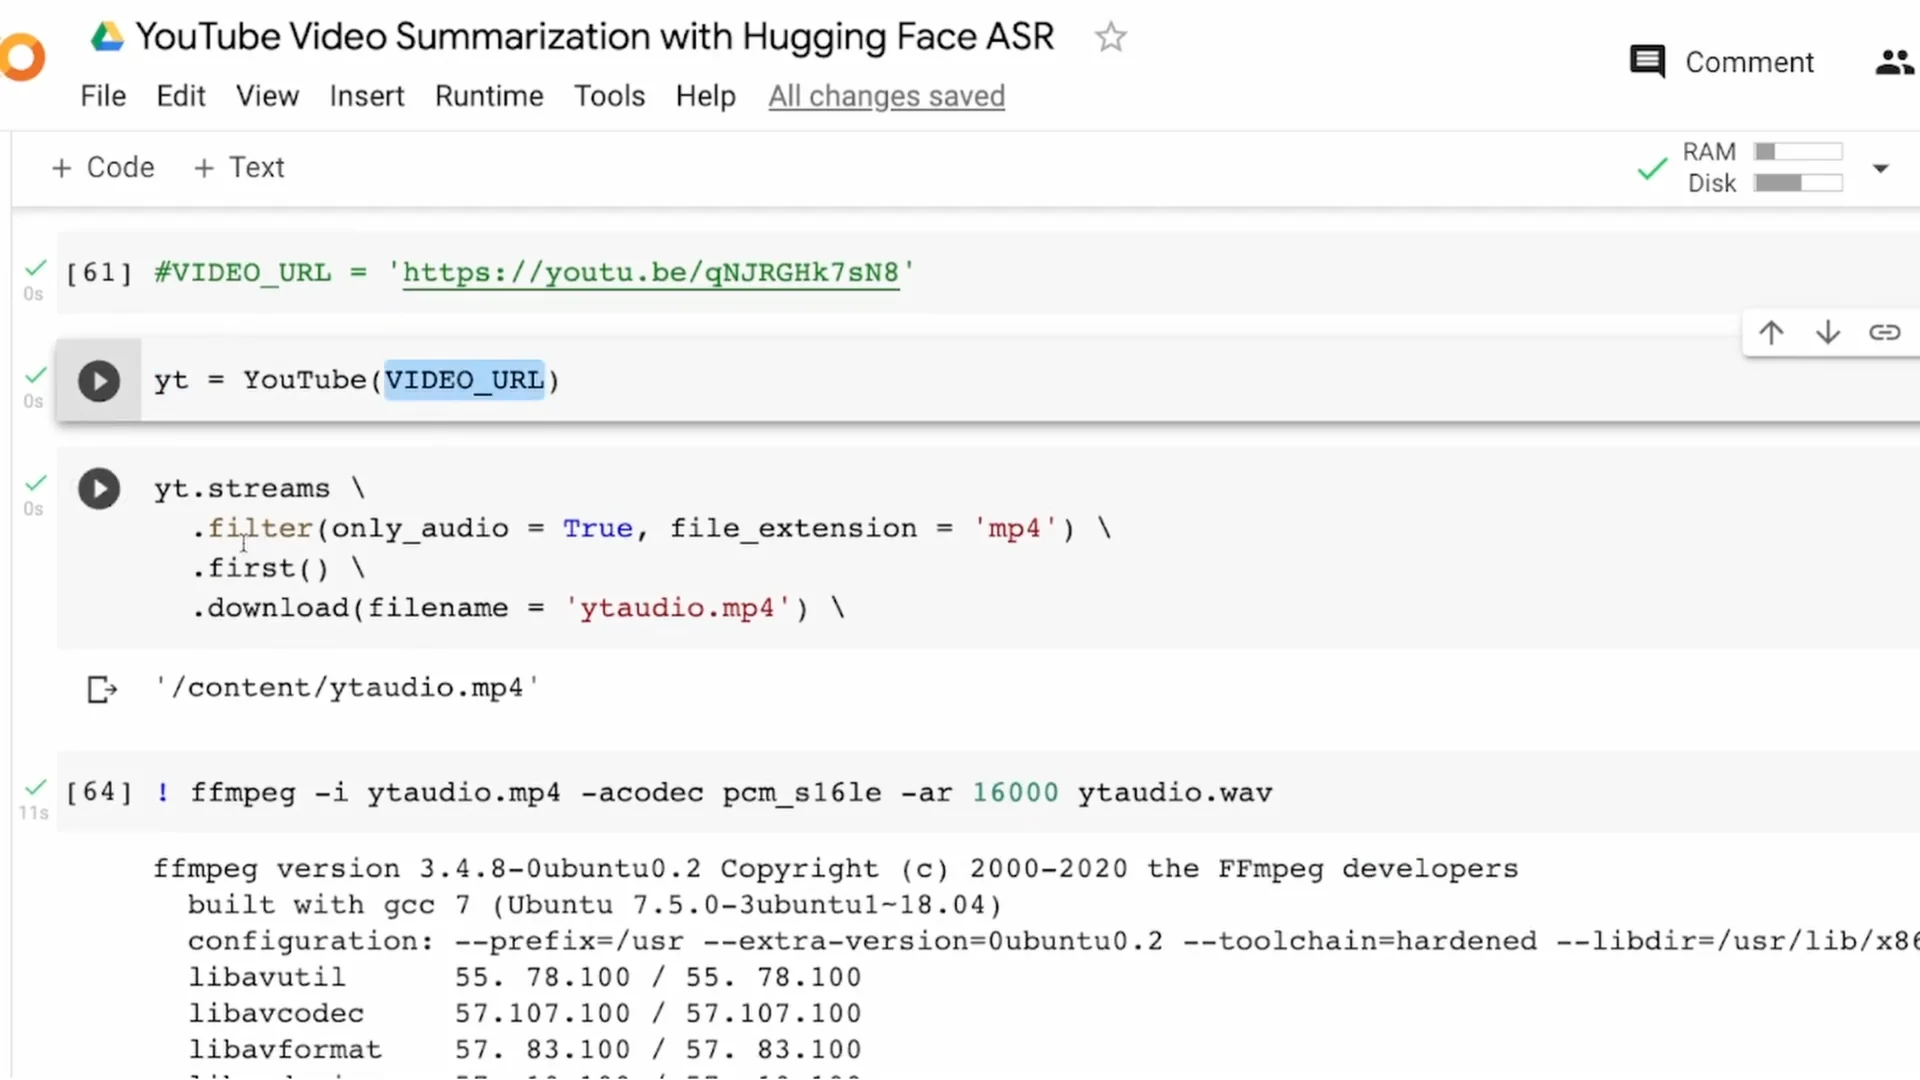
YouTube typically offers audio in mp4 or webm. I download mp4 and take the first available stream since exact audio quality is not critical for this tutorial.
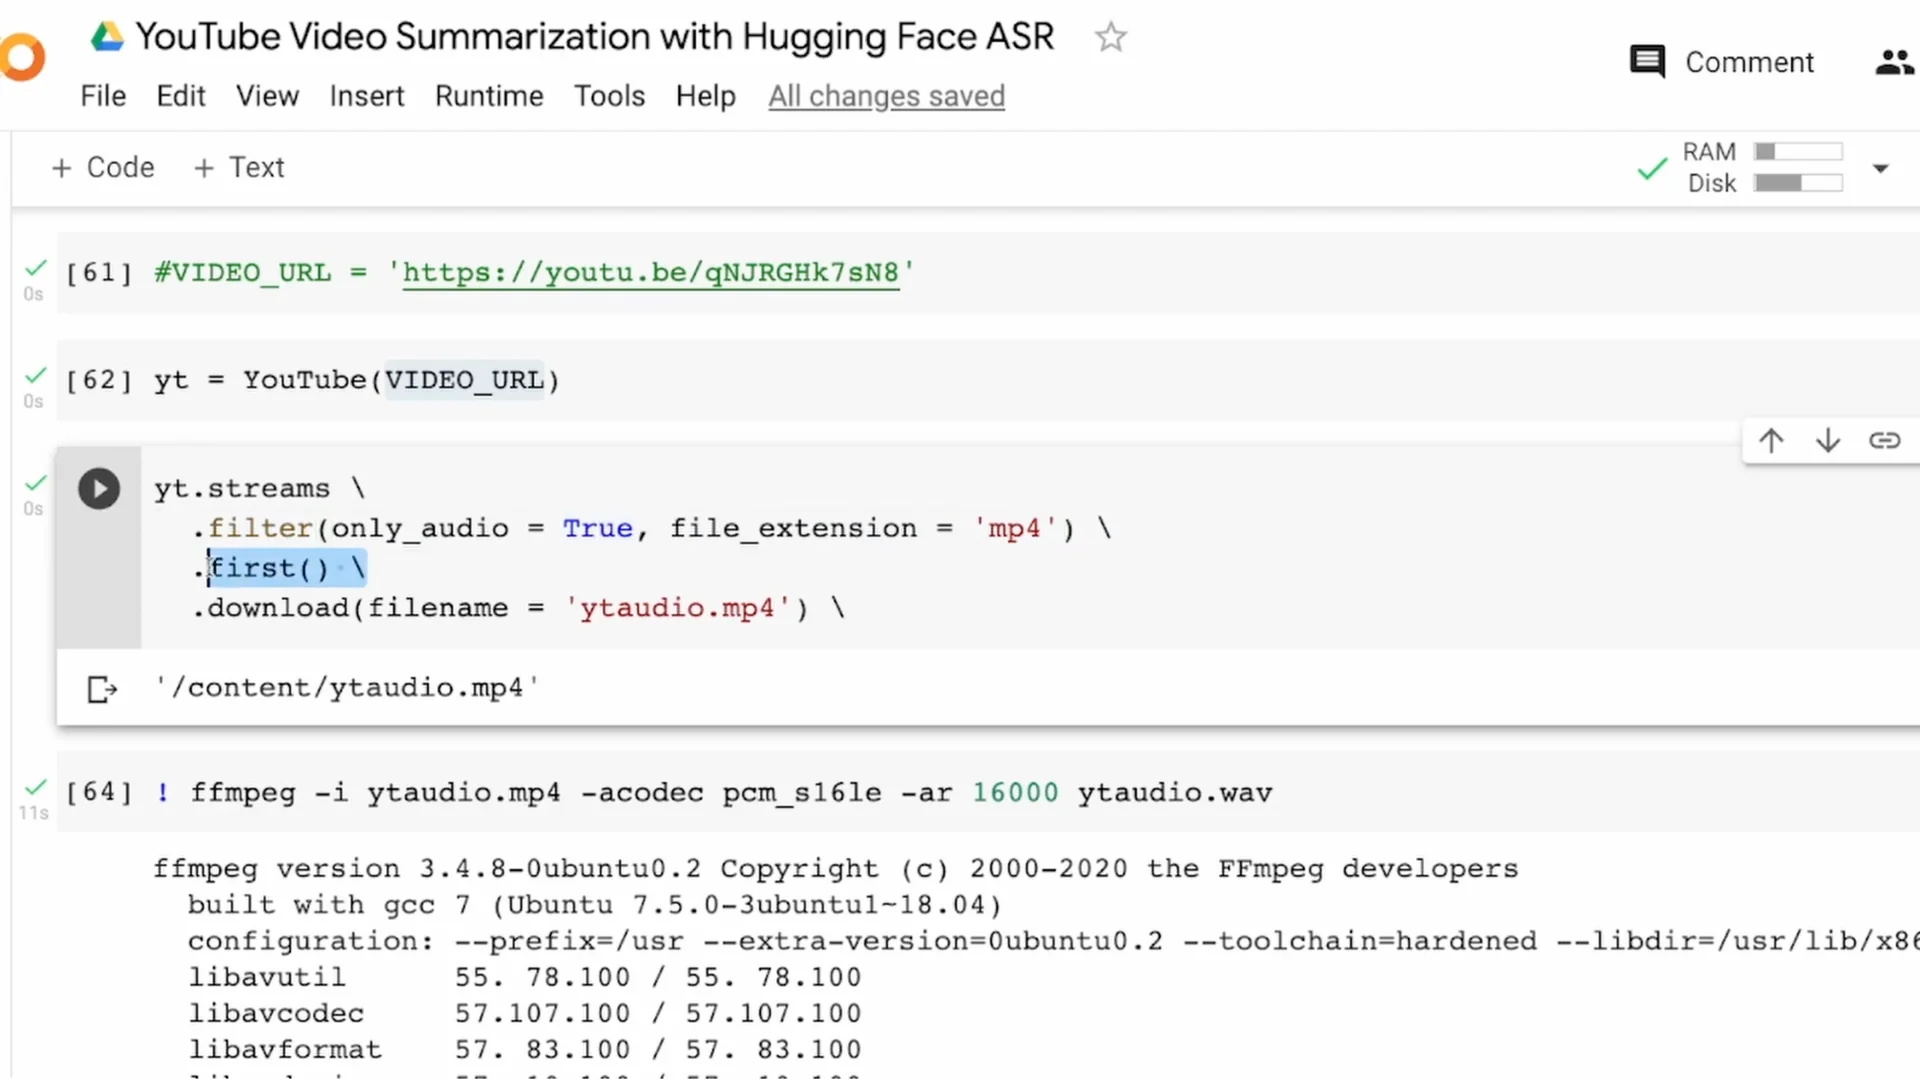
Save the file as yt_audio.mp4. For ASR, I need a WAV file, so I convert yt_audio.mp4 to yt_audio.wav using ffmpeg with a 16000 Hz sample rate.
WAV conversion
Run ffmpeg with the input mp4, set the codec as needed, and set -ar 16000 to resample. The output is yt_audio.wav.
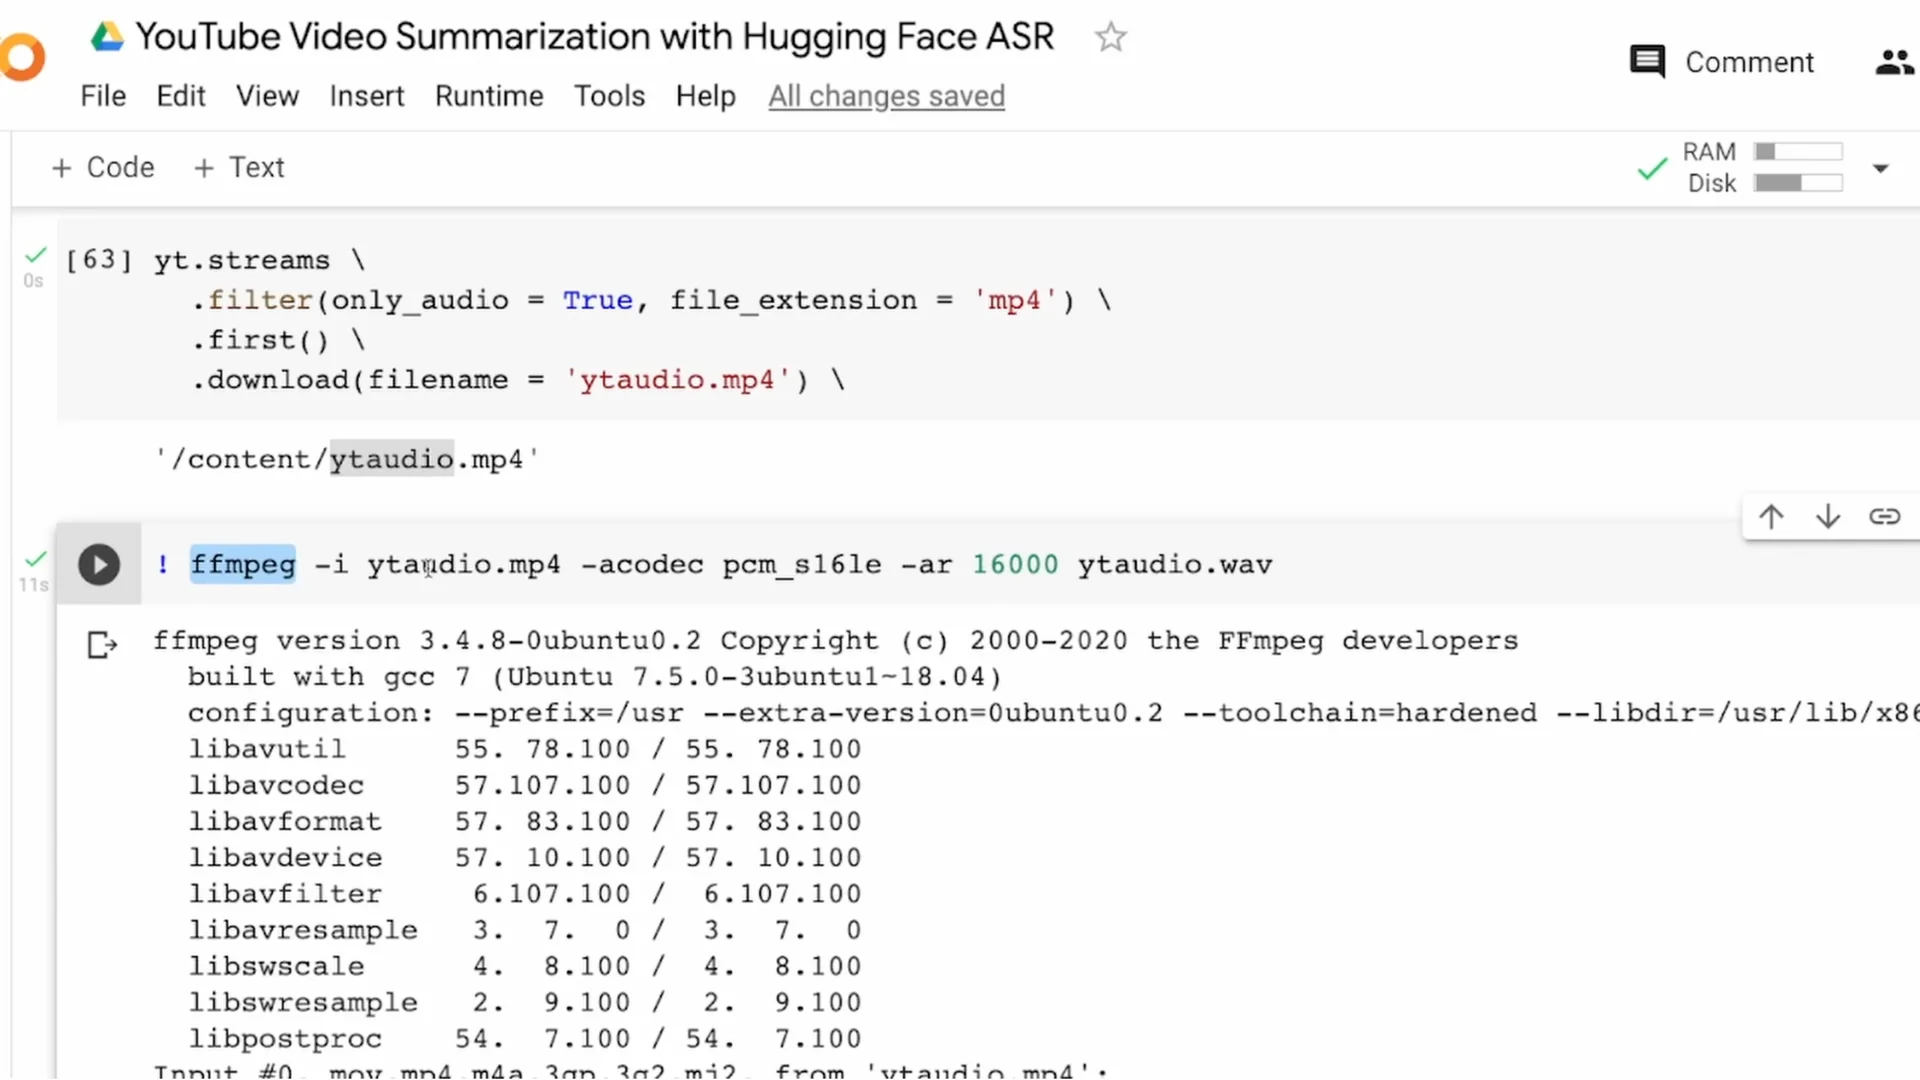
From this point on, I only work with the WAV file. That completes the audio download and conversion step.
ASR for YouTube Speech-to-Text Summarization
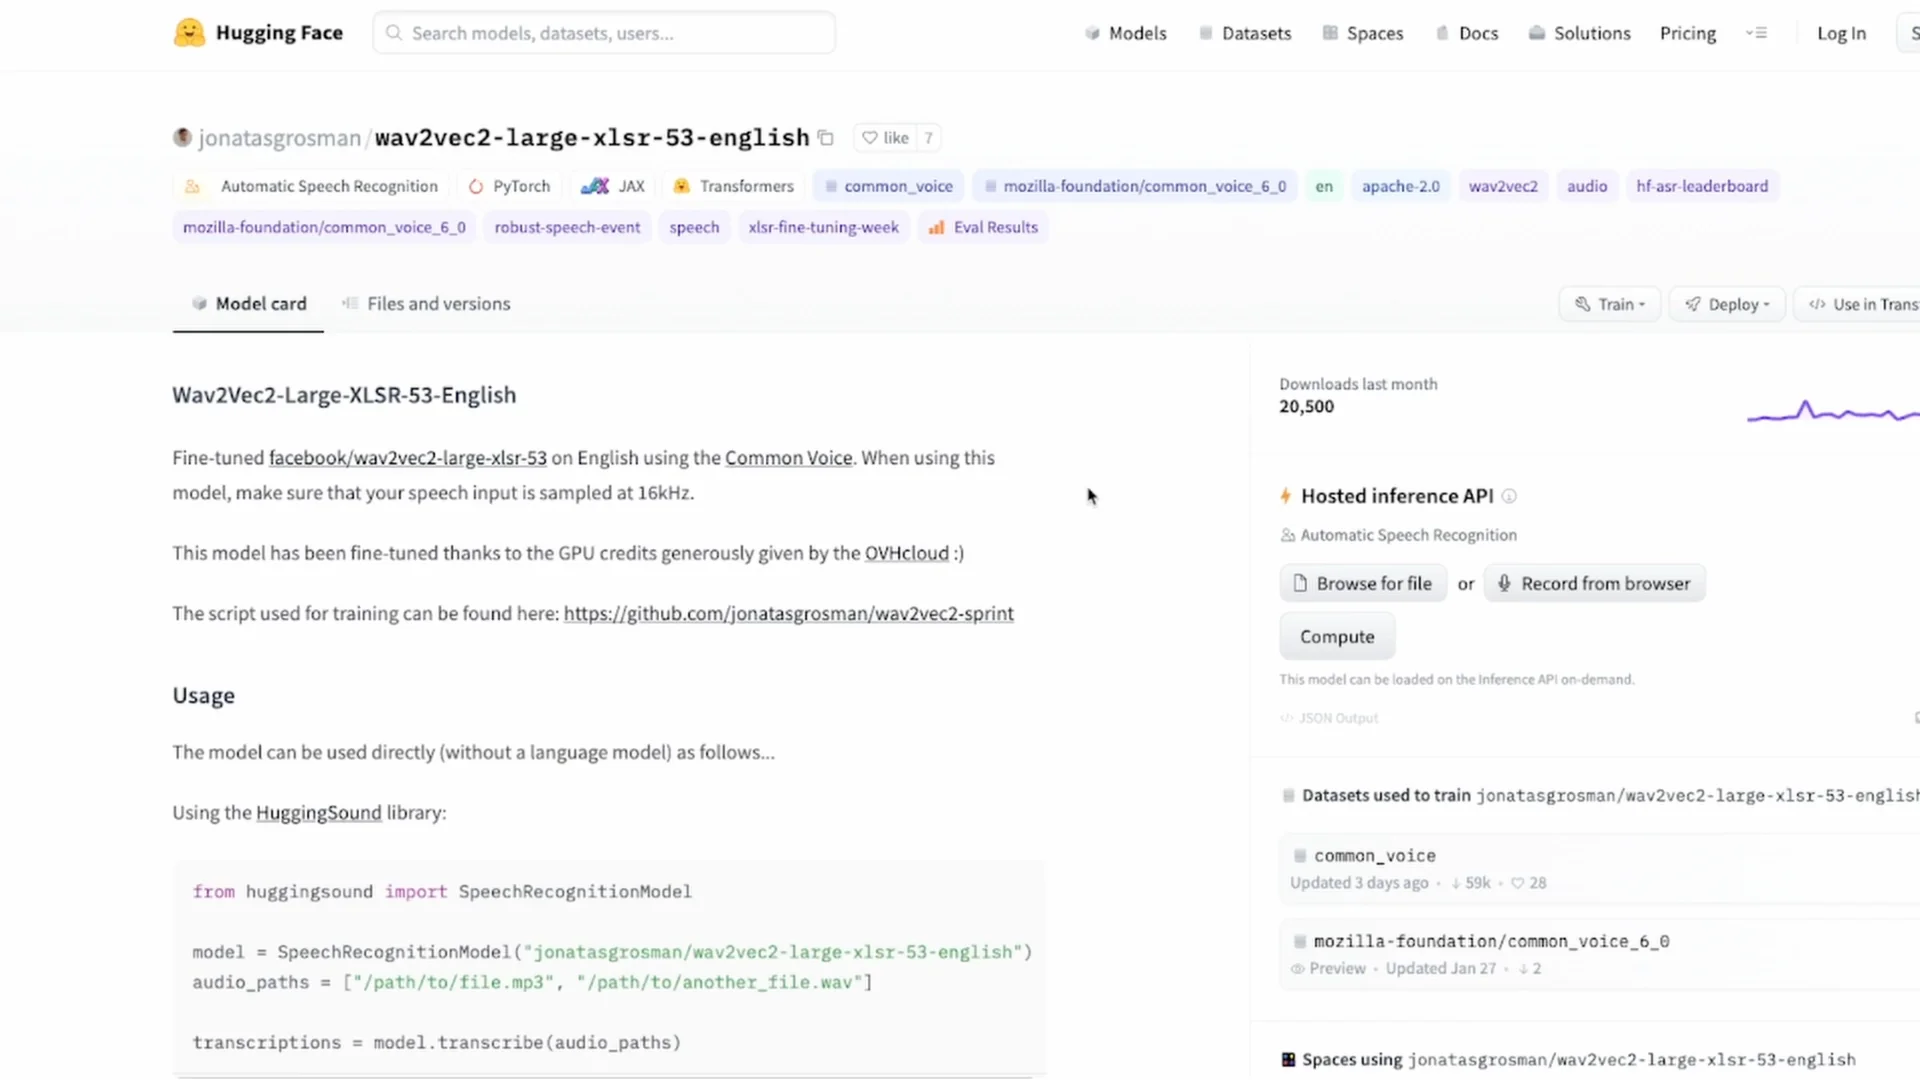
I am using the hugging-sound library, which wraps a Wav2Vec2 model for easier ASR. It works for many languages supported by Wav2Vec2, but here I am using English.
Install hugging-sound and import SpeechRecognitionModel. If CUDA is available, set device to cuda, else use cpu.
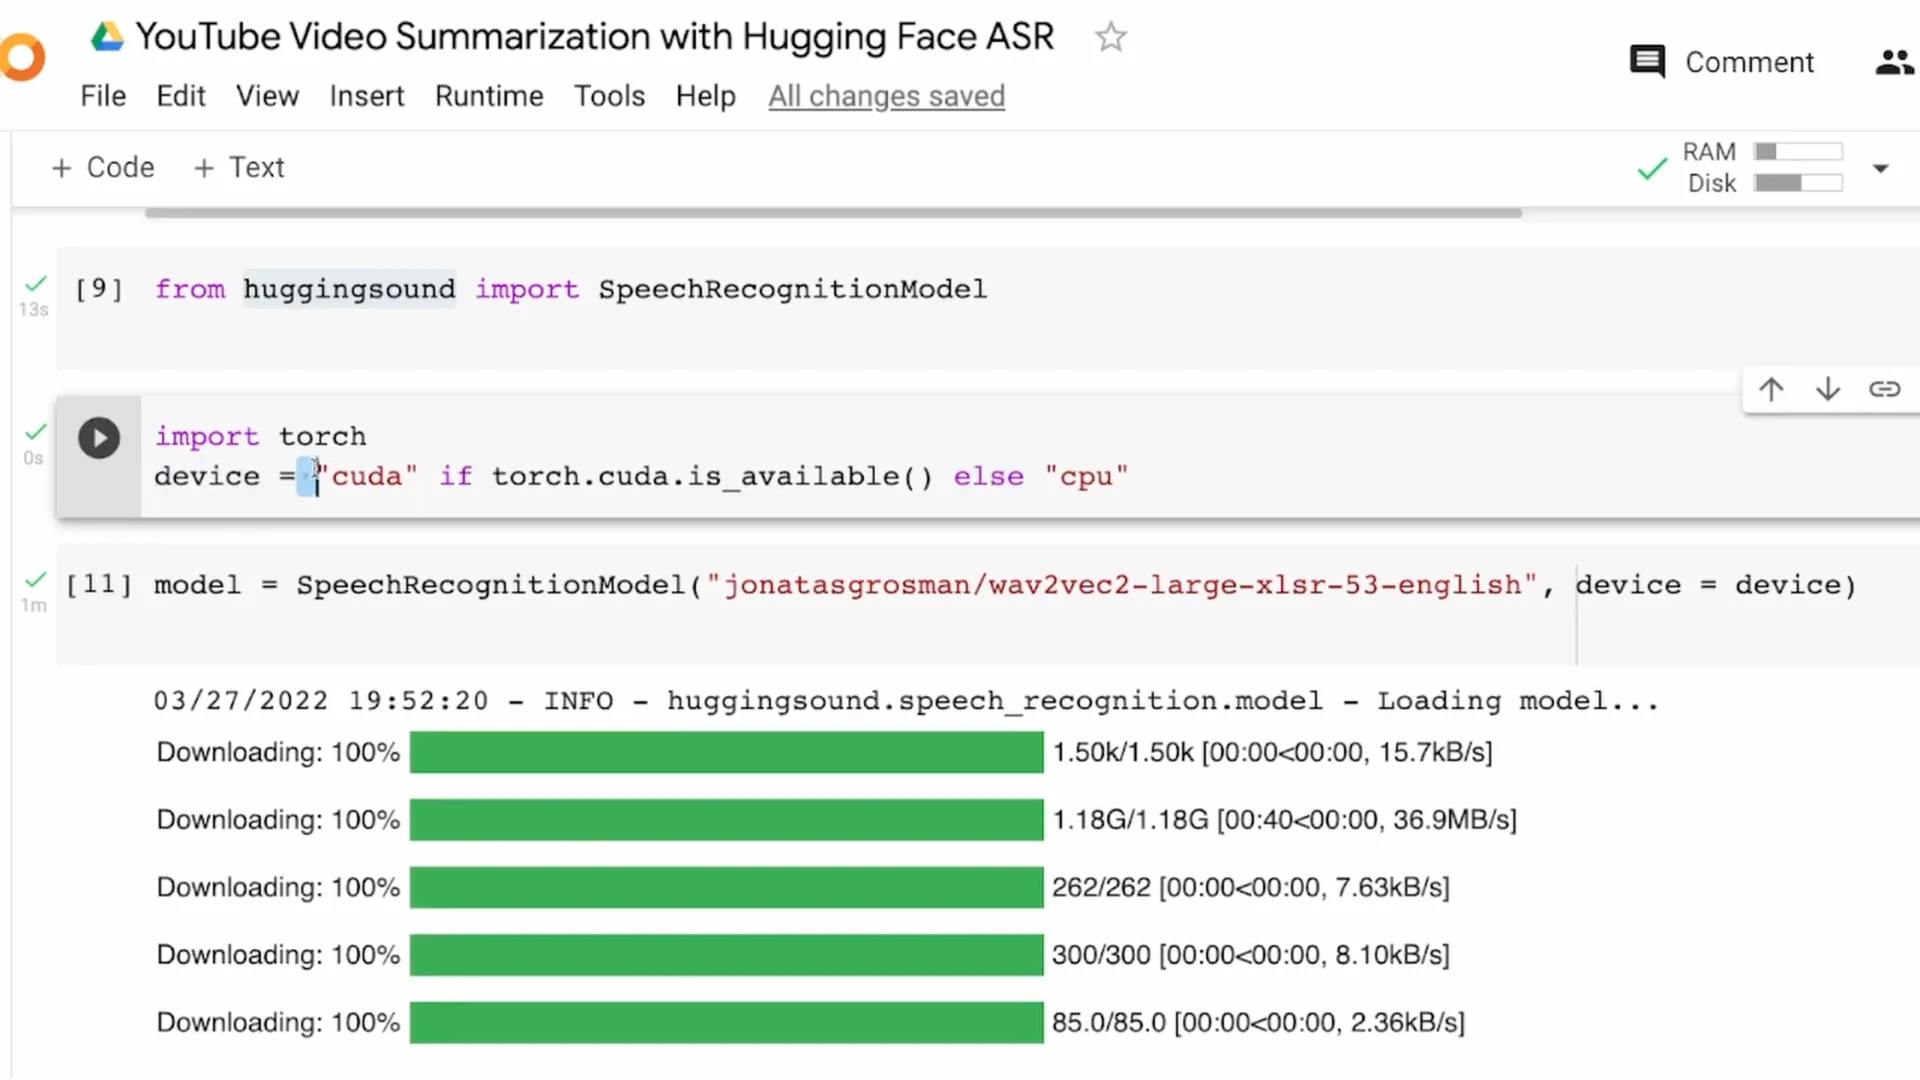
Download the English model. If you are working with Tamil, Hindi, Spanish, or German, download the respective model from the Hugging Face model hub and load it with hugging-sound.
Avoiding OOM with audio chunking
If your audio is longer than about one to two minutes, you can hit an out of memory error in Colab. Audio chunking solves it by splitting the long file into smaller segments.
I use librosa to read the audio and split it into 30 second blocks. You can change the block length, but keeping it below 60 seconds is safer for memory.
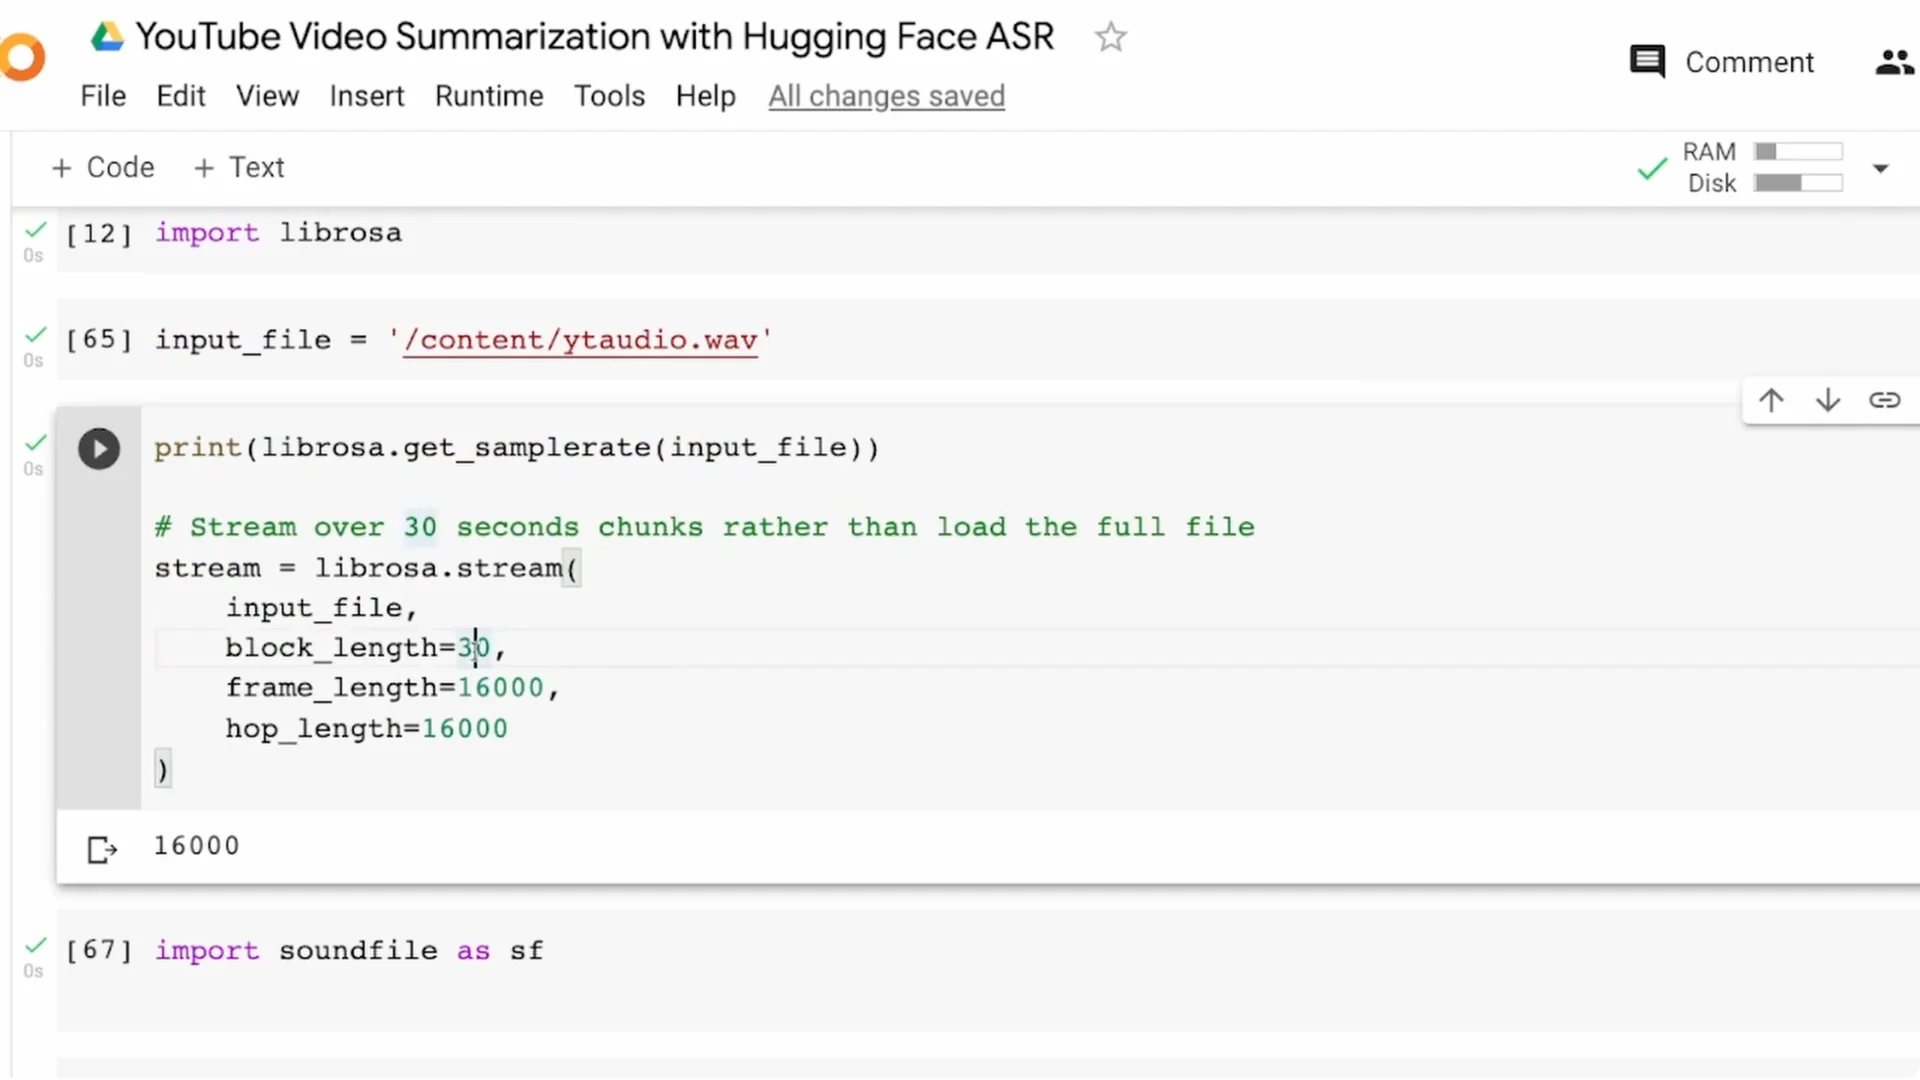
This time-based chunking can split words in the middle. For better quality, use a voice activity detector to split on speech segments. I recommend Silero VAD for this.
I save the chunks as 0.wav, 1.wav, 2.wav, and so on. For a three and a half minute audio, I ended up with seven segments of around 30 seconds each.
Read More: Create Talking Avatar Using Canva
Transcribe the chunks
I create a list of file names, like 0.wav to 6.wav. This list is the input to model.transcribe.
The output is a list of dictionaries that includes a probability score and the actual transcription. I only need the transcription field from each item.
I iterate over the results and join the transcription texts into a single string called full_transcript. That gives me the full text of the speech, produced from the audio.
Summarize the transcript
From transformers, I import pipeline and instantiate a summarization pipeline. If you need a specific language model, pass it explicitly.
For very large texts, many models require text chunking to stay within token limits. In my test, the direct summarization worked without chunking, but keep chunking in mind.
If needed, split the transcript into blocks like 1000 characters, summarize each block, and then concatenate the summaries. That gives you stable results for long documents.
You can open the full notebook and run everything in Colab code. It includes the exact steps for audio download, chunking, transcription, and summarization.
Validation run on another video
I tried the same flow on a short interview clip. I downloaded the audio, converted it to WAV, chunked it, and transcribed the chunks.
I built the full transcript and ran summarization. The summary worked, though you might see small typos from ASR.
This confirms the flow works end to end on a fresh example. It is not foolproof, but the pipeline is solid and can be improved.
Optimization ideas
Choose a stronger Wav2Vec2 model for better ASR quality. That single step can noticeably improve your final summary.
Prefer VAD-based chunking over fixed time-based chunking. It prevents cutting words and improves transcription coherence.
Consider summarizing chunk-wise and then merging the partial summaries instead of merging the full transcript first. This can give more meaningful coverage on long inputs.
Do not rely only on the default summarization model. Pick a model that fits your domain and tune hyperparameters like min length and max length.
Read More: Create Talking Avatar Using Canva Ai
Final Thoughts
This YouTube Speech-to-Text Summarization project converts a video into audio, transcribes the speech to text, and summarizes the content. Audio chunking avoids memory issues, and VAD improves chunk quality.
Model choice, chunking strategy, and summary settings matter a lot for final quality. With a short video and the provided notebook, you can get a working solution quickly and then iterate.