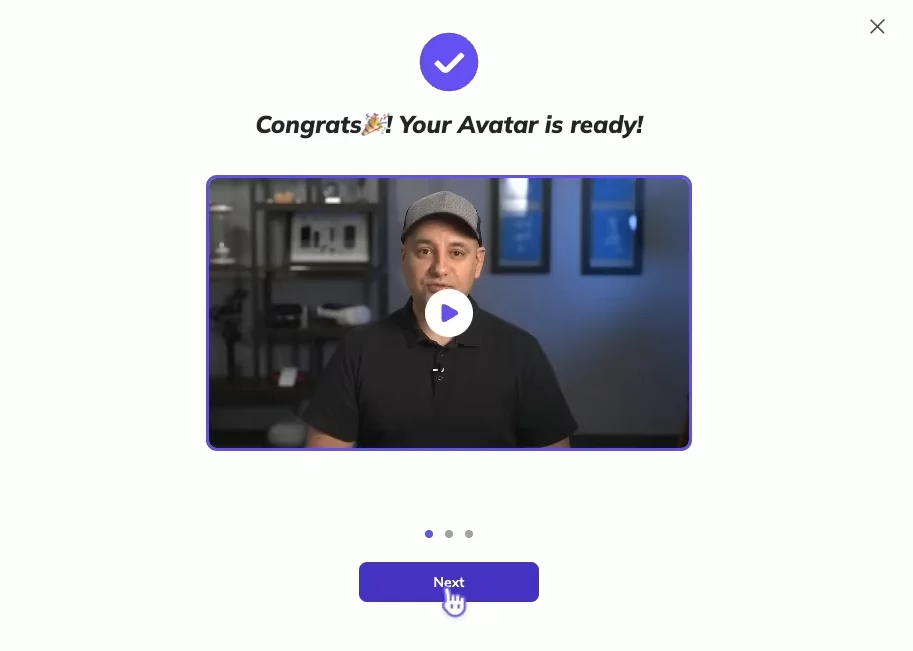
You can now transform yourself into an AI avatar for free, and it only takes five minutes of your time. You only need a phone to create AI avatar clone of you. In this article, I’ll guide you through the step-by-step process of creating your own AI avatar using HeyGen AI.
What is HeyGen AI?
HeyGen is an AI powered Video Generator, which can produce studio quality videos with AI-generated avatars and voices.
Source: www.heygen.com
Step 1: Signing Up with HeyGen AI
To begin your avatar transformation, go over to Heygen.com and sign up for a free account.
This account will grant you access to create your very own AI avatar, though it comes with some limitations.

Let’s explore these options:
Free Account:
With the free account, you can create one instant avatar, but there are restrictions on the duration and features available.
Upgraded Plans:
By opting for a yearly or monthly subscription, you’ll unlock more credits and features, allowing for greater flexibility in avatar creation.
Step 2: Avatar Creation Process
Once you’ve signed in to Heygen, navigate to the Avatar tab.

Here, you’ll find various options for avatar creation:
- Instant Avatar: This is the feature we’ll be using, allowing you to clone yourself from video footage.
- Photo Avatars: Generate avatars from images, suitable for cartoon or animation projects.
- Studio Avatars: A more advanced option requiring professional studio recording.
Step 3: Recording Your Footage
Now comes the fun part—recording your footage. Follow these steps for optimal results:
Set Up: Secure your phone on a stable surface or use a grip to avoid shaky footage.
Camera Quality: Use the back-facing camera of your phone for the best resolution.

Lighting and Positioning: Ensure ample lighting and face the camera directly. Avoid excessive hand gestures or movements that may confuse the AI.
Step 4: Uploading Your Video
After recording, upload your footage to Heygen AI. Remember to check the quality and clarity of your audio, as the AI will also clone your voice.

Once uploaded, proceed with the consent form, confirming your agreement to use the generated avatar.
Step 5: Customization and Options
Heygen offers several customization options to enhance your avatar experience:
Voice Selection: Choose from different voices, including your own or public options in various languages.
Script Input: Input your text script or record audio directly within the platform.
Script Writing Assistance: Use the built-in script writer powered by GPT-4 for drafting your content.
Translation: Easily translate your script into different languages to reach a wider audience.
Step 6: Video Creation and Editing
Now, let’s bring your avatar to life:
Voice and Script:
Review and adjust voice settings, and input your script for the avatar to narrate.

Timeline Editing:
Customize your video timeline with additional scenes or transitions.
Resolution and Captioning:
Choose the desired resolution and add captions for accessibility or social media sharing.
Step 7: Finalizing and Exporting
Once you’re satisfied with your creation, it’s time to export your video:
Preview:
Review your video to ensure everything looks and sounds just right.

Export Options:
Select your preferred resolution and download the final video to your device.
Latest AI Avatar Animation Tutorials:
- Sadtalker AI Google Colab Notebook (Quick Guide)
- SadTalker Github: Creating Realistic Talking Head Videos
- Voice.AI: Change Your Voice to Any Celebrity
- Neiro AI: Free AI Video Generator and text-to-speech AI 2025
Demi Franco, a BTech in AI from CQUniversity, is a passionate writer focused on AI. She crafts insightful articles and blog posts that make complex AI topics accessible and engaging.


